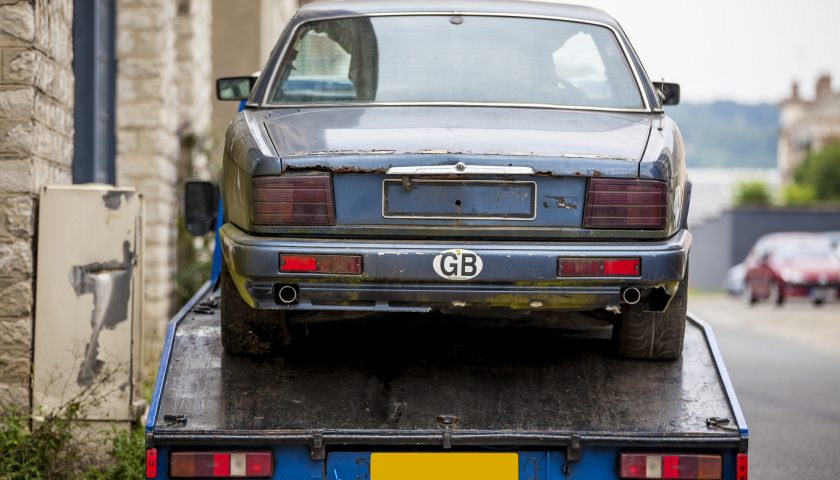
A Jaguar restoration project is a great way to resurrect and immortalize a fascinating piece of automotive history. Whether it’s a rare model or a more common one.
Regardless of your level of ambition for performance and authenticity, this will be a fun and rewarding project. And the beauty of classic cars is you can do the work yourself if you’re handy.
That being said, restoration isn’t as easy as maintenance work on your everyday car. But with the right work assessment and understanding, you can pull it off.
The simple steps in this article will help you figure out how to go about your Jaguar restoration process.
1. Plan Your Jaguar Restoration
How far do you want to take your restoration project?
For those not very familiar with classic car restoration, let’s get an overview of the process. Restoration is often split into four categories, each is considered a separate level and each level is progressively more labor-intensive.
For a Driver restoration, you just get the car operational and back on the road, a simple process unless there’s significant damage.
A Street show restoration includes fixing all aesthetic issues. Show car restoration takes it even further to near-perfection, but this is only right if you don’t plan on driving it much.
The highest level, Concourse, is mostly for real professionals who intend to make the car a collector’s item that will probably never be driven again.
It’s a good rule of thumb to start with the safety equipment, once any structural damage is fixed. Old cars often lack safety equipment, and what little there is may need to be replaced. Then move on to performance.
2. Get All Relevant Information
Even if you’re already handy with cars, you should get a specialized restoration manual. It will walk you through all sorts of restoration, from rebuilding engines to fixing common body repair issues.
Sign up for some car restoration internet communities or forums. If you ever run into a difficult problem, you can get help from people experienced in similar projects.
3. Get the Parts
Your first is deciding whether you’ll stick to original parts or use replacements.
Original parts will make your finished car more authentic, but they’re more expensive and harder to find than most replacements.
For a Show car or Concourse restoration, you should aim for as many original parts as possible. For a Driver restoration, you may prefer getting cheaper or more modern options.
Clubs and forums dedicated to Jaguars or Jaguar restoration are great places to look around for spare parts and information. You can find enthusiastic people who have what you need.
Most replacements can be bought from online parts shops, and sometimes your local car shop.
The easiest way to track down original and rare parts is to call the dealership. They’re usually able to supply what you need, but it usually comes with a steep price tag.
4. Take Care of Safety
Older cars tend to lack a lot of safety equipment, and what they have isn’t always safe anymore. It’s common procedure to install airbags and replace seatbelts (or installing them if there were none) when restoring cars.
The disk brakes will need replacement, and this is a lot of work.
You should also give the horn and turn signals an objective inspection. Are they fully functional? If you’re doing a lower level restoration, you may even want to get a more modern alternative.
5. Check the Underbelly
You’re bound to find rust in the undercarriage. Gas tanks also rust out and may leak at the seams. Repair or replace anything rusty.
6-cylinder Jaguar engine blocks often leak from the rear main seal, while V-8s suffer from broken water pumps. Engine issues are best resolved by getting an engine from a newer Jaguar.
Hydraulics and suspension are notoriously problematic and are typically replaced with more common alternatives.
Ball joints, grease fittings, and upper control arm bushings probably need replacing.
6. Update the Electronics
This is where you have big choices to make if authenticity is not a priority.
You can bring your Jaguar restoration into the 21st century for a unique driving experience with things like climate control, parking sensors, and a Bluetooth stereo system. Your imagination is the limit.
If you’re aiming for a more authentic restoration, just replace the dashboard lights and anything that doesn’t work properly.
7. Repair the Body
Jammed door handles and cracked steering wheels are common with these cars, and the main task is finding genuine parts.
Headliner and carpet are probably in bad condition, but easy to replace if you remove the seats and console panel.
A popular way to restore leather is simply applying heated Jaguar Hyde Food a few times, but you’ll get the best results from replacing the leather.
Last but not least, perfecting the exterior to make your Jaguar look fantastic. First, strip the paint. This can be done with chemical stripper, make sure to rinse it off well and sprinkle some baking soda after to neutralize any leftover acid.
Rust damage can be treated by grinding down the rust and bridging gaps with things like lighter plates and glass fiber paste, though this is frowned upon by some.
Using good rust protection is very important, so be very thorough with this. Then finish the Jaguar restoration off with a nice paint. Ideally, use Jaguar original products or leave it to a certified workshop.
Assets for Your Jaguar Restoration
Don’t be discouraged if something breaks or won’t fit, setbacks are inevitable during Jaguar restoration. Just be prepared. Have a plan ready, and don’t feel bad.
There’s always help to get for these fascinating, rewarding projects.
You can find more useful information in our Jaguar repair manuals and on our blog.

