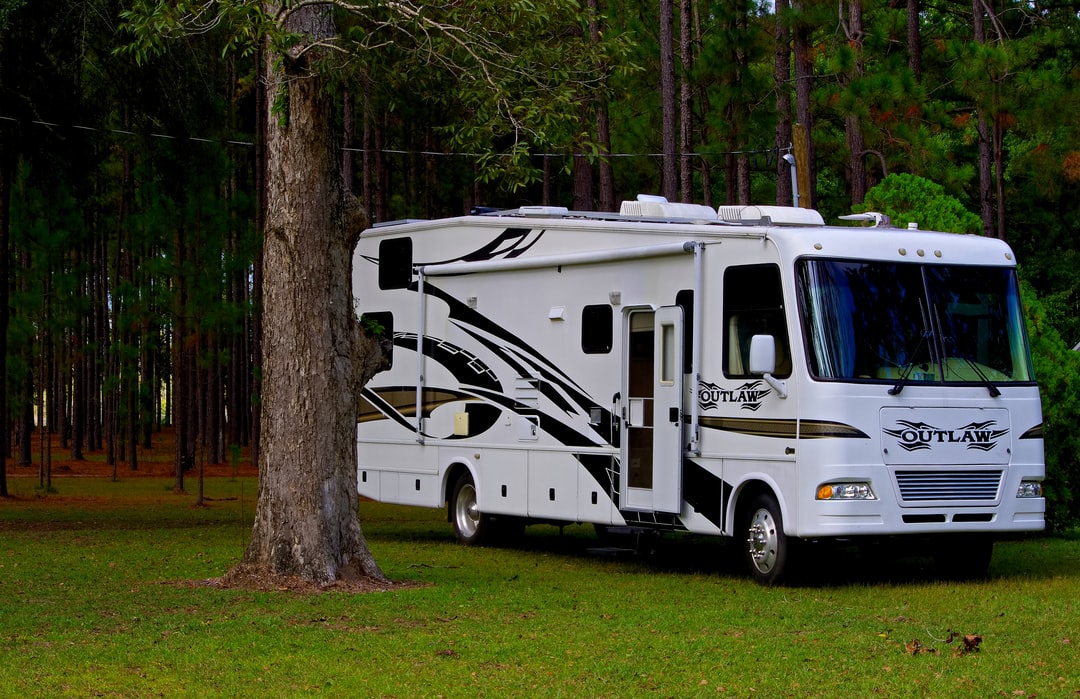
Around 11% of households in the US own a recreational vehicle. But how many of those households know much about RV repairs?
RV roofs, in particular, take a lot of beating with the weather, trees, and general wear and tear. And if you own a travel trailer long enough, sooner or later you are going to start running into issues. Knowing how to repair your roof will save you headaches, mechanics fees, and the cost of a new RV.
This simple guide will tell you everything you need to know about repairing an RV roof. Then, you can continue to enjoy your road trip without much delay!
Repairing a Rubber RV Roof
When repairing an RV roof, always start by cleaning it. Be gentle as you don’t want to make a tear or hole worse.
Avoid using cleaners with petroleum solvents or citrus ingredients on your rubber or vinyl RV roof. The chemicals will cause permanent damage to the protective shell. Start by brushing off the debris and mop the roof of your RV with soap or vinyl cleaner, avoiding any known holes, and leave it to dry before you fix it.
Reseal your rubber RV roof by using an EPSM sealant or you can use two coats of Dicor. Use a self-leveling sealant on your roof joints. You should do this every year to avoid leaks.
Repairing a Metal RV Roof
Metal roofs on RVs aren’t common nowadays. If you’re in the market for an upgrade, you can see what’s available on the home page of any good online RV seller. But for now, start repairing your metal roof by cleaning it with a regular car cleaner.
Household roof coatings are fine to use as a sealant on metal roofs too. But if you are repairing a hole or tear, using bonded seam tape is the best method. Buy a four-inch-thick roll and be careful when you apply it over your tear as you won’t be able to pull it off again.
Repairing a Fiberglass RV Roof
You can clean a fiberglass RV roof exactly how you would clean a rubber roof. But you will need to take extra care to remove grease and oil. Put on rubber gloves and use an acetone cleaner and wait for it to dry.
Most fiberglass RV roofs have a gel coat. If you want to keep your RV shiny, apply more wax in a circular motion after you clean your RV.
Use a rubberized leak stopper to seal any holes or gaps around roof joints. For larger tears, use fiberglass repair tape. Spray the sealant on the hole first, apply the tape, then cover it with another coating of sealant.
Repairing an RV Roof Is a Last Resort
As long as you keep up with maintenance, repairing an RV roof won’t be something you need to worry about for at least 10 years. But if you have a second-hand RV or travel in extreme weather, it’s a good skill to learn. And after reading this handy guide, you’ll know exactly what to do if it happens.
If you’re on the road with your RV a lot, learning more auto repair skills will only help you. Browse our website for tons of vehicle maintenance and repair tips!

