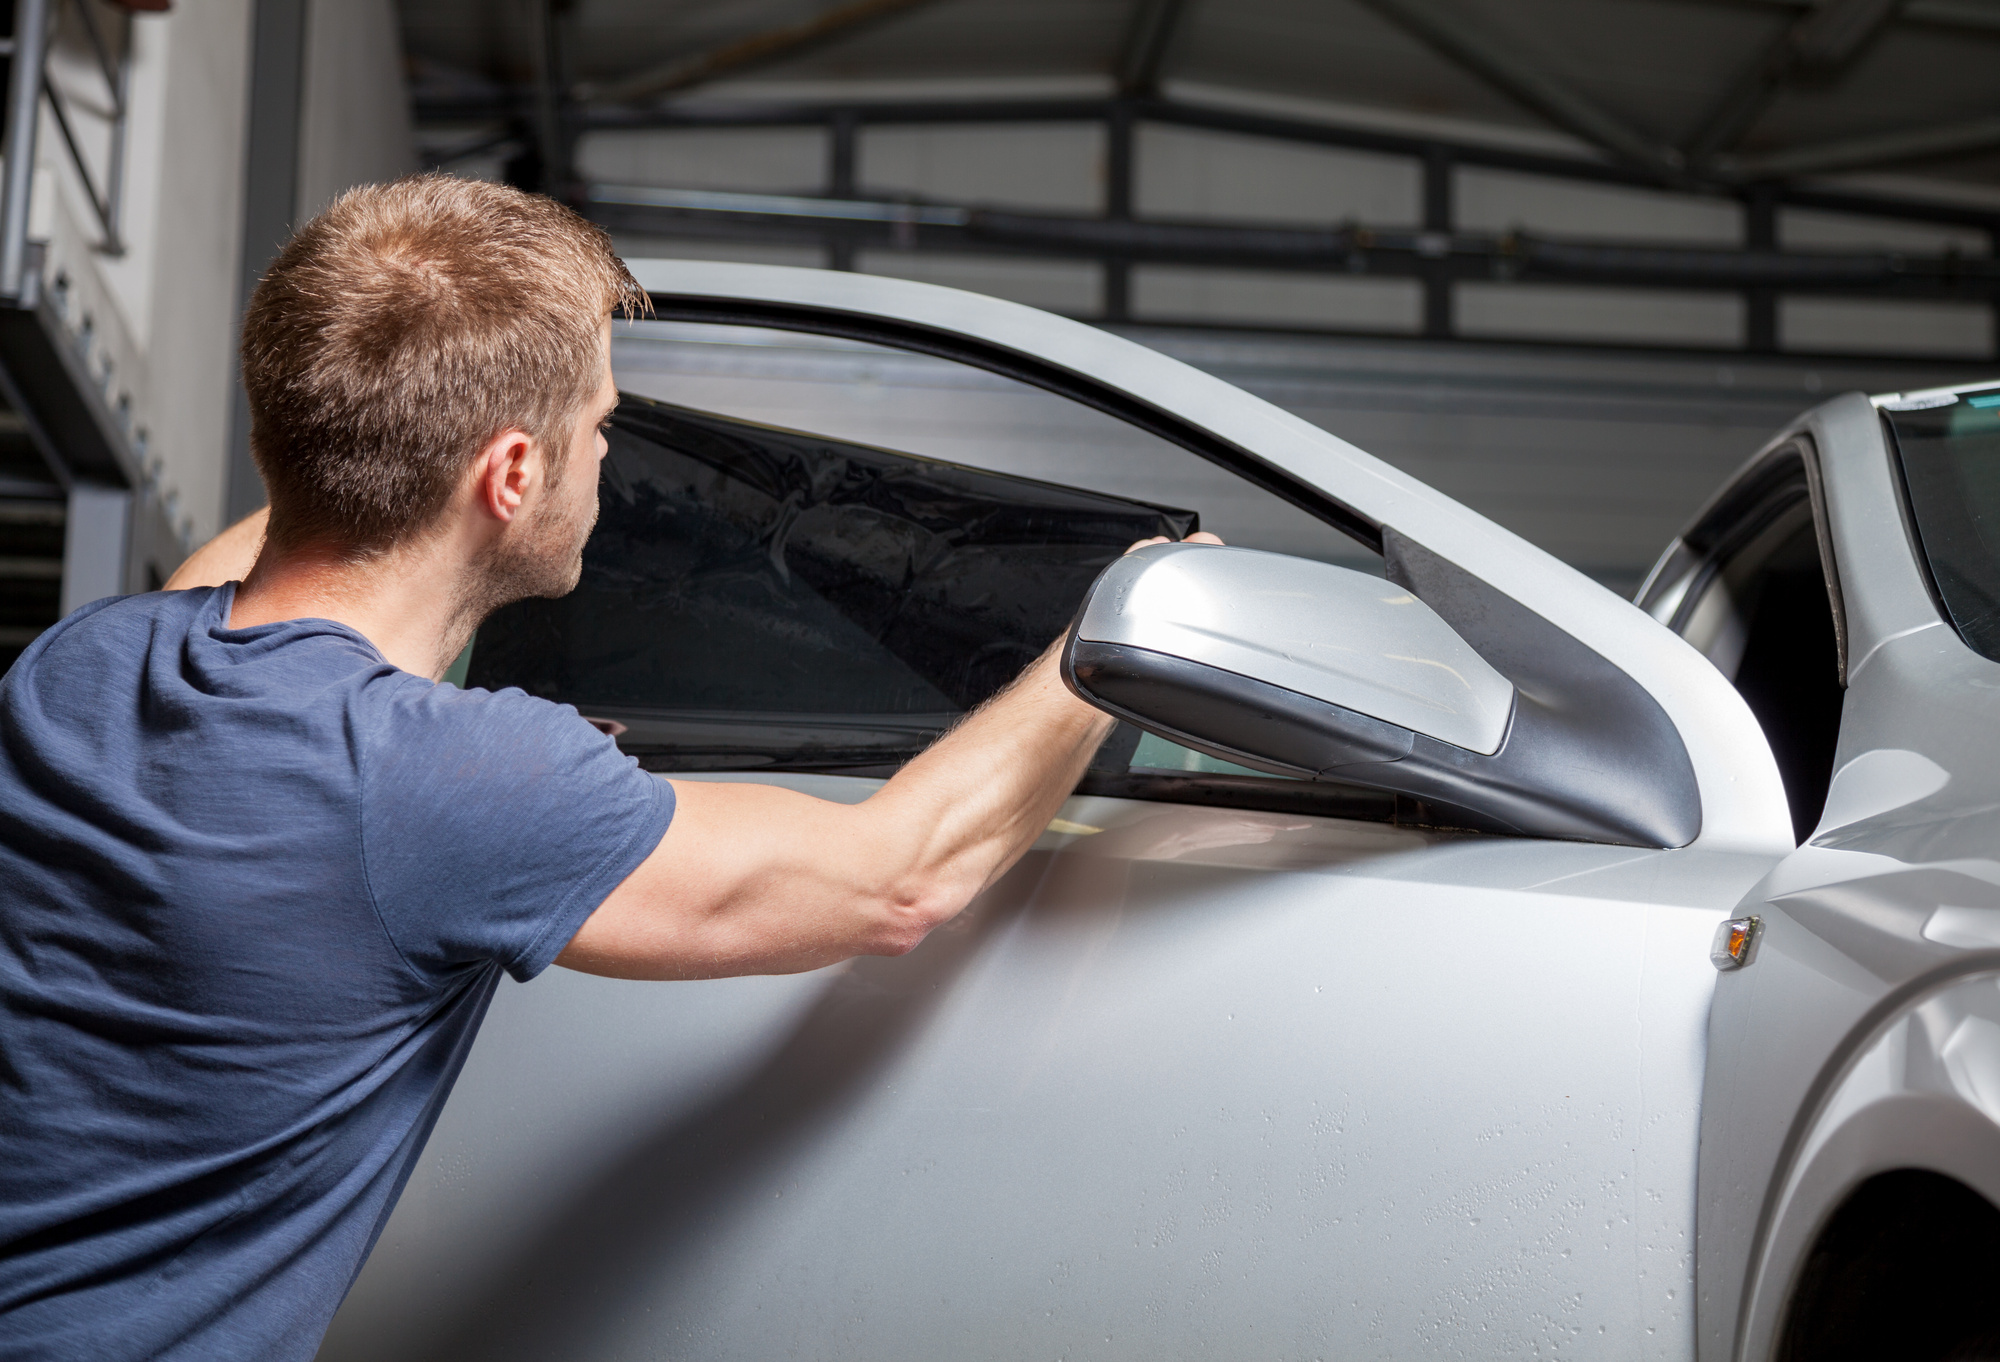
What happens when you want window tints for your car but can’t match the window tint installer’s price. Well, you can install window tints by yourself and knock some serious bucks off your window tint installation.
Car window tint only costs a small fortune but comes with a heap of benefits. The most obvious advantage of car window tinting is privacy.
Now the question is, “How do you tint car windows?” Join us today as we look at the steps involved in tinting your car windows.
Step 1: Get Window Tint Film and Other Materials
Before you can get to the handy work, the first step is to get the window tint film. The window tint film is available in any auto store worth its name. However, don’t just enter the auto store and pick the first window tint film you see.
There are various types of window tints from different manufacturers with different price points. Make sure you pick one that works best for your car and your pockets. Depending on your budget, you can settle for low-end or high-end window tint film.
If you’re on a tight budget, it’s quite okay to settle for the cheapest window tint film you can find. However, note that these types of tints only last for about five to seven years. High-end car window tints come with a lifetime warranty, but only if you have professional installers handle the installation.
Once you find a window tint that matches your budget, you can buy the other materials for your car window tint installation. Some of these materials include:
- Tape measure
- Flat edge razor
- Hot water spray bottle
- Application solution, or you could make one yourself
- Small hand squeegee
If you don’t find these materials in the auto store, you should find them in a hardware store nearby. If you have everything you need, you can proceed to the next step.
Step 2: Clean the Glass
For the next step, you’ll need the best pair of cleaning gloves you can find for some thorough cleaning. Make sure you go full throttle with the window cleaning for the best results.
Also, ensure you park your car in an open space free from dust or any other debris. If you can’t find a suitable area, just clean your garage and park your car in there before you start cleaning the glass. This is a precautionary measure to prevent dust or debris from clinging to your windows during the tint film application.
Any dirt or dust on your windows will make the window tint look bumpy on your windows. So, make sure your windows are free from dust for a smooth, clean finish. You can use soap, water, or a specified glass cleaner to clean the windows.
Use a rubber sponge or a wet piece of cloth to wipe all the dust away. Do this until your windows are squeaky clean.
Step 3: Measure and Cut the Tint Film
Next, you have to measure the surfaces that you’ll be tinting. Some people choose to measure the window surfaces before getting the tint film, which isn’t such a bad idea. Window tint comes in rolls of different sizes; make sure you buy enough for your car windows.
Measure the tint film and cut it into individual sizes for the front and rear windows. As a rule of thumb, remember to measure twice and cut once. That way, you don’t cut the wrong measurements and end up wasting the car window film.
If you choose to measure your windows before getting the window tint film, ensure you add an extra two inches on each end. This will compensate for any errors you made during measurement.
Step 4: Apply the Window Tint
Now comes the tricky part: applying the window tint film to your car window. To do so, you first need to spray the application solution onto the glass. Ensure you spray a generous amount so that it reaches every corner of the window.
Next, remove the adhesive part of the tint film and face the sticky part towards the window. A mistake most people make is placing the entire tint film on the window at once. This can lead to the formation of bubbles on the window tint.
A better approach is to start at the bottom of the window and move your way upwards, smoothing the film as you go. Cut off any excess for a clean finish.
Step 5: Smooth It Out
Remember the hand squeegee you bought? It’s time to put it into action. In case of any bubbles or creases, use the hand squeegee to smooth everything out.
If the situation is too severe, consider getting a heat gun to make the tint film more pliable. Remove the extra film and wipe any excess water with a cloth.
It’s a good idea to steer clear of harsh window cleaners when cleaning the glass. They may do more harm than good. Also, avoid rolling your windows up or down for at least two days to avoid creasing the tint film.
How Do You Tint Car Windows?
Now that we’ve answered, “How do you tint car windows?” we hope you’re now comfortable doing so yourself. Remember to get the correct size of car window tint film to avoid buying another roll. If you get the wrong one, at least buy a larger one.
We hope you’re ready to do your car windows tint. Keep reading our posts for more interesting tips.

